Beginner Tips for Winter Photography - Capture That Perfect Shot This Season
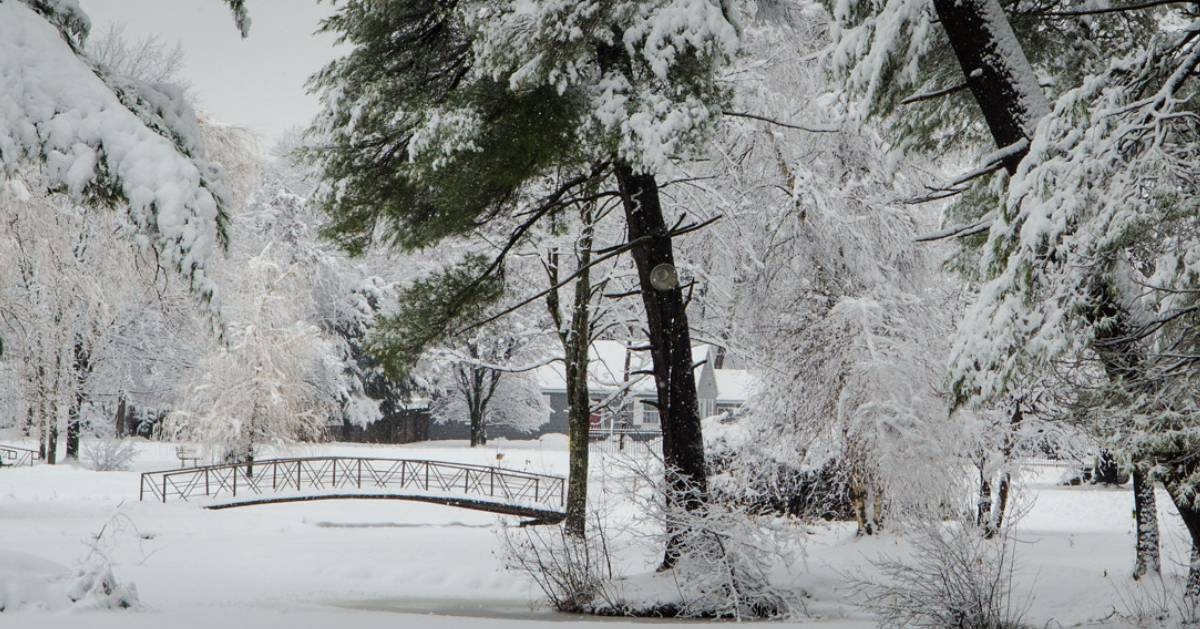
Fluffy white snow. Sparkling ice. Stunning landscapes. Winter in the Glens Falls region can be a beautiful sight, and amateur photographers might be tempted to rush out with their camera upon the first snowfall. Before you head out check out a few tips below to keep your equipment safe and your photos brilliant.
1) Planning Your Photography Trip
Days are shorter during the winter season, so you'll want to be aware of both the time of day and the weather before you head outdoors with your camera. The "golden hour," also known as the first and last hours of the day (after sunrise and before sunset), tends to provide the best light for photos. However, you don't want to find yourself in the middle of the woods when the sun is setting quickly in winter.
In addition, the winter season means winter storms, so gray clouds will become much more common in your landscape photos. Try planning your photography trip around a sunny day, or wait until a snowstorm has passed and snap some shots of the aftermath.
2) Keeping Your Camera Safe in the Cold
You'll want to keep your camera in pristine condition when outside in cold temperatures. Many batteries may not perform to the best of their ability in the cold, and you may find that your camera is not snapping photos as quickly as you'd like. To keep your batteries fresh and your camera fast, consider purchasing a special external battery pack, which you can keep warm in your pocket and connect to your camera with a long cord.
As local photographer Carl Heilman II says: "One of the biggest issues in the winter is bringing cold cameras inside. They need to be kept enclosed in their case or in a plastic bag until warmed up to near room temp to avoid condensation issues on - or even in the camera. Condensation inside can kill a digital camera."
3) Taking Photos of White, White, and More White
Composition
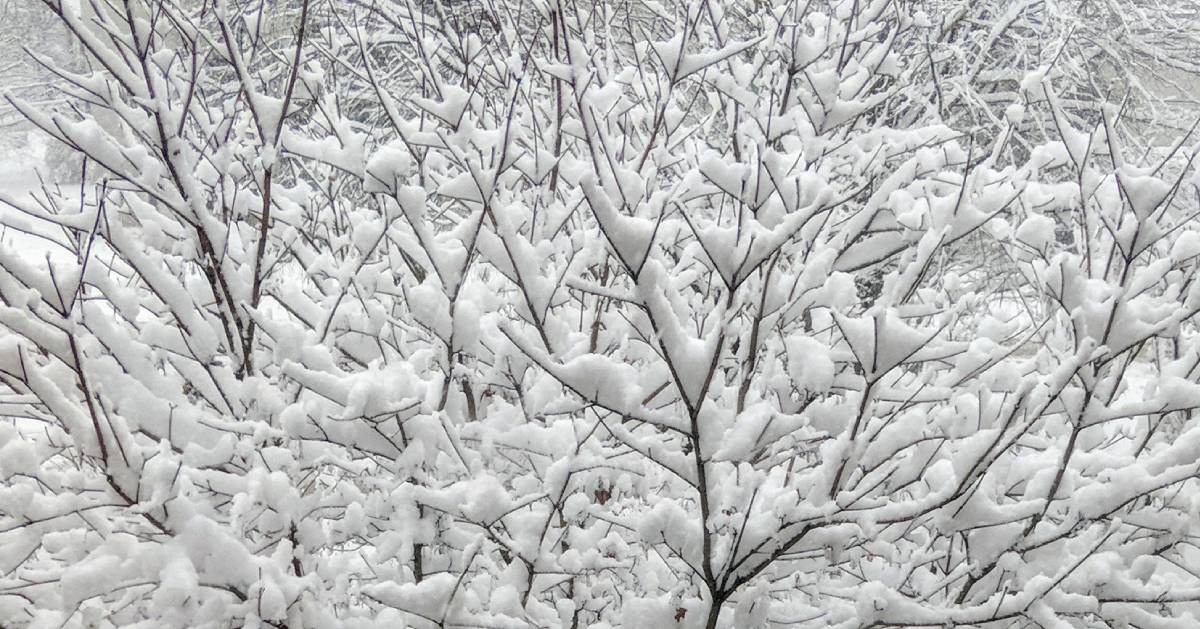
A winter landscape photo really shows how an area can transform into a winter wonderland, but that's not the only type of photo you should take this season. Try zooming in on an object or piece of scenery that stands out to you. For example, a window covered in ice or a row of hanging icicles may be more visually striking than another wide shot.
Colors
Although winter photos can be beautiful, you also don't want a whole album full of bright, white images. One way to add some variety to your photographs is to include a contrasting element. If you're taking photos of people outdoors, have them wear a piece of clothing with color, such as a red scarf, to liven up a winter photograph. A red cardinal against white snow could also be nice!
Camera Mode
A winter landscape may look pretty to the naked eye, but all that brilliant white snow can confuse your camera's internal metering system. All cameras have a built-in metering system, designed to balance colors in a scene and deliver a perfect picture.
The metering system works best when photographing a scene with a wide tonal range, including all colors and hues. But when you're looking to photograph a scene that is mostly white, such as a winter landscape, the camera typically underexposes the scene so that the beautiful white snow you see looks gray in your picture. Thankfully, there's an easy fix. Just select the "snow scene mode" that comes with your camera. Advanced users can manually set the exposure compensation settings to make the scene brighter and whiter.